This information on Sound Calibrations has been kindly provided by our valued supplier Dewesoft. For more information on this topic, please contact us.
Acoustic Calibration Services – IEC
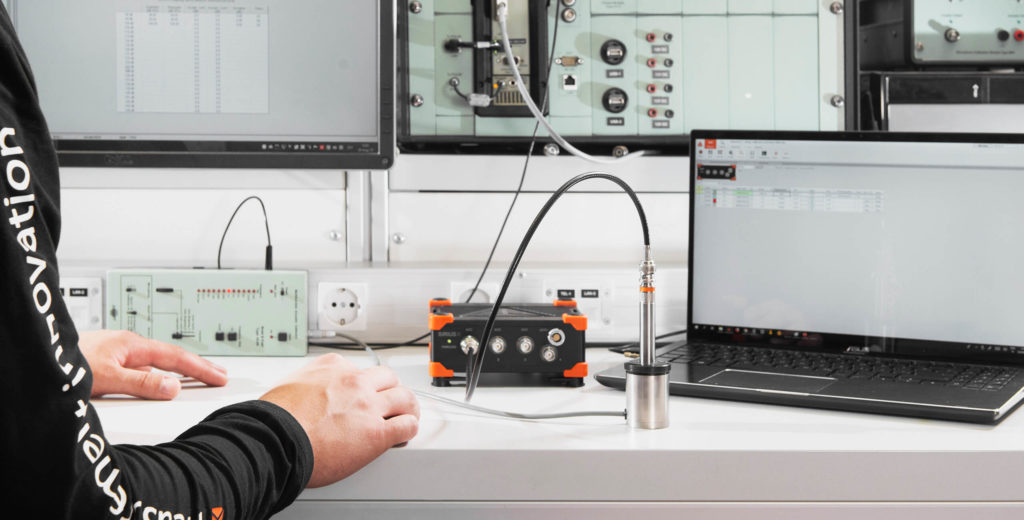
Make sure you measure correctly! Dewesoft offer traceable acoustic calibration services according to international IEC and ANSI standards. They ensure that your instrument accurately indicates the required measurement parameters. Calibrations are documented, traceable and digitally signed in cooperation with accredited calibration laboratory.
Main Features
INTERNATIONAL STANDARDS: Acoustic calibration services are traceable according to IEC and ANSI
international standards. Supported standards are IEC 61672, IEC 60651/ 60804, BS 7580, ANSI S1 4,
and ANSI S1.43
ACCREDITED CALIBRATION LABORATORY: All acoustic calibrations are performed in cooperation with
accredited calibration laboratory.
5 WORKING DAYS TURNAROUND TIME: Shipping excluded.
CALIBRATION MANAGEMENT SYSTEM: Dewesoft will notify you at the right time when your
calibration is about to expire. They also offer calibration process tracking.
DIGITALLY SIGNED CERTIFICATES: All our acoustic calibration certificates are digitally signed.
Plus always available to check on-line via included link.
35 YEARS EXPERIENCE: Their calibration lab has 35 years of experience with
sound and vibration measurement equipment service.
Reasons for Performing Calibrations
Calibration may be required for the following reasons:
- New instrument
- Repair or modification
- The specified time period has elapsed
- Specified usage (operating hours) has elapsed
- Critical measurement – before and/or after
- A special event occurrence, for example
- exposure to shock, vibration, or physical damage
- change in environmental conditions
- Performance appears questionable or indications do not match surrogate instruments
- Requirements, e.g., customer specification or instrument manufacturer recommendation
Sound Level Meters
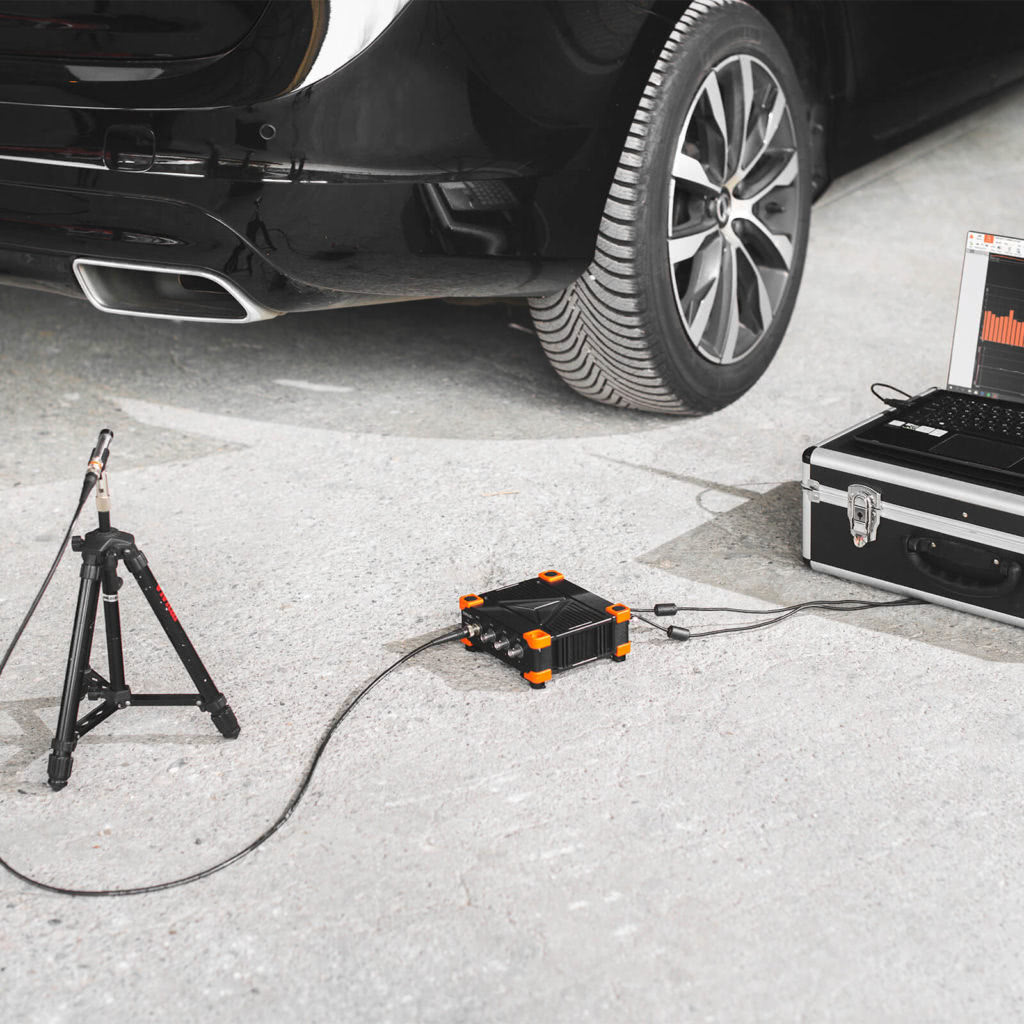
Calibrations of sound level meters are performed according to standards IEC 61672, IEC 60651/ 60804, BS 7580, ANSI S1 4, and ANSI S1.43. Procedures include tolerances and are designed to verify that the characteristics of the sound level meter are correct. Examples of characteristics tested: frequency response of microphone and filter, the time weightings (Fast, Slow, etc.), level linearity, over range indication, etc.
Sound level meters are divided into different classes of accuracy. Class 1 is intended for precision measurements and class 2 for simple measurements. Approximate accuracy for a sound level meter of class 1 is 1 dB and 2 dB for class 2.
SIRIUS as SLM
SIRIUS DAQ system can be calibrated using the procedure for class 1 SLM in accordance with IEC 61672, when used for sound power measurements.
Octave Filters
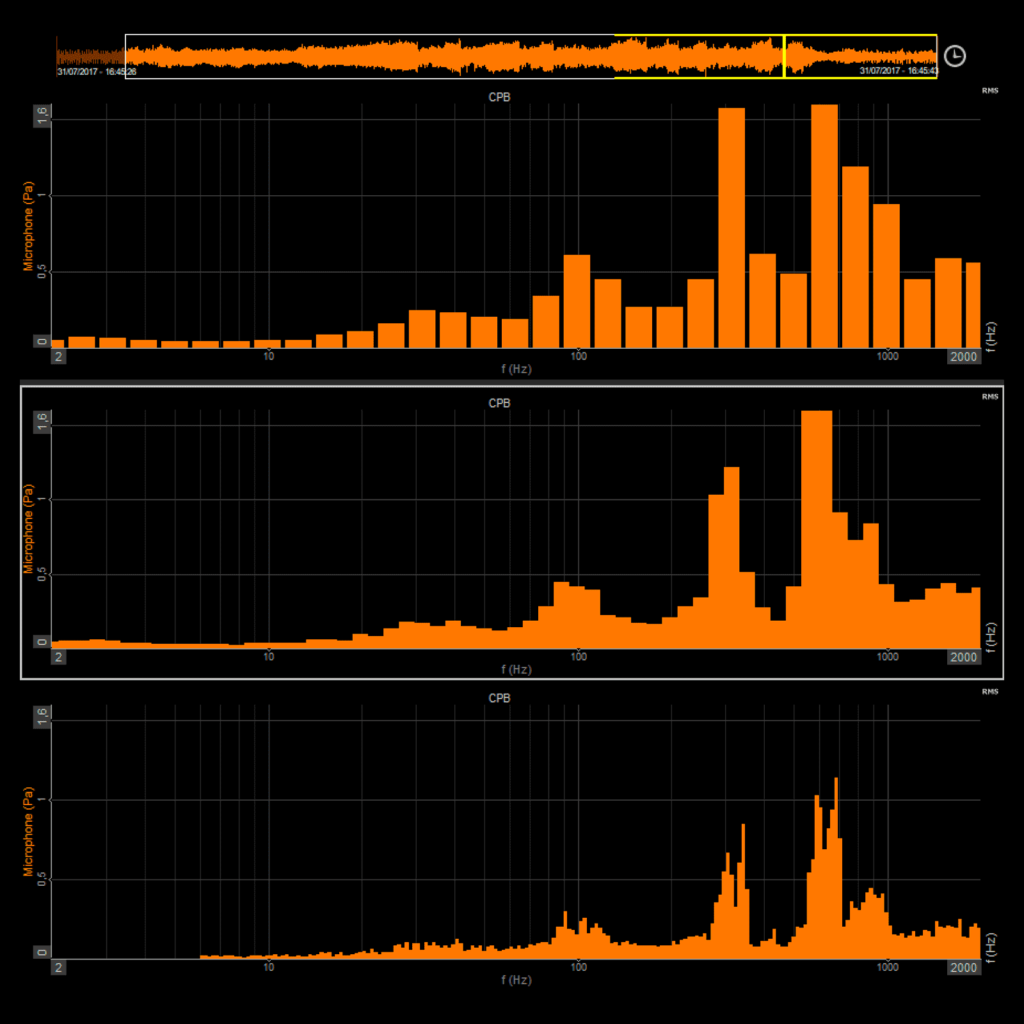
Periodic tests of Octave band and fractional octave band filters, whether as dedicated instruments, built in sound level meters or other instruments are performed according to standard IEC 61260 or IEC 60225.
When measuring the spectral contents of sound, the signal is divided into frequency bands with a constant relative band width. Constant relative band width means that the width of the band (number of Hz included in the band) is proportional to the centre frequency of the band. The most common relative band widths are 1/1 and 1/3 octave band.
Characteristics for the frequency bands are specified in the international standard, IEC 61260. In this standard, two classes of accuracy are stated, 1 and 2, where class 1 is the best. However, up to 1995 an old standard, IEC 60225, applied and many of those instruments specified to this standard are still in use.
Acoustic Calibrators
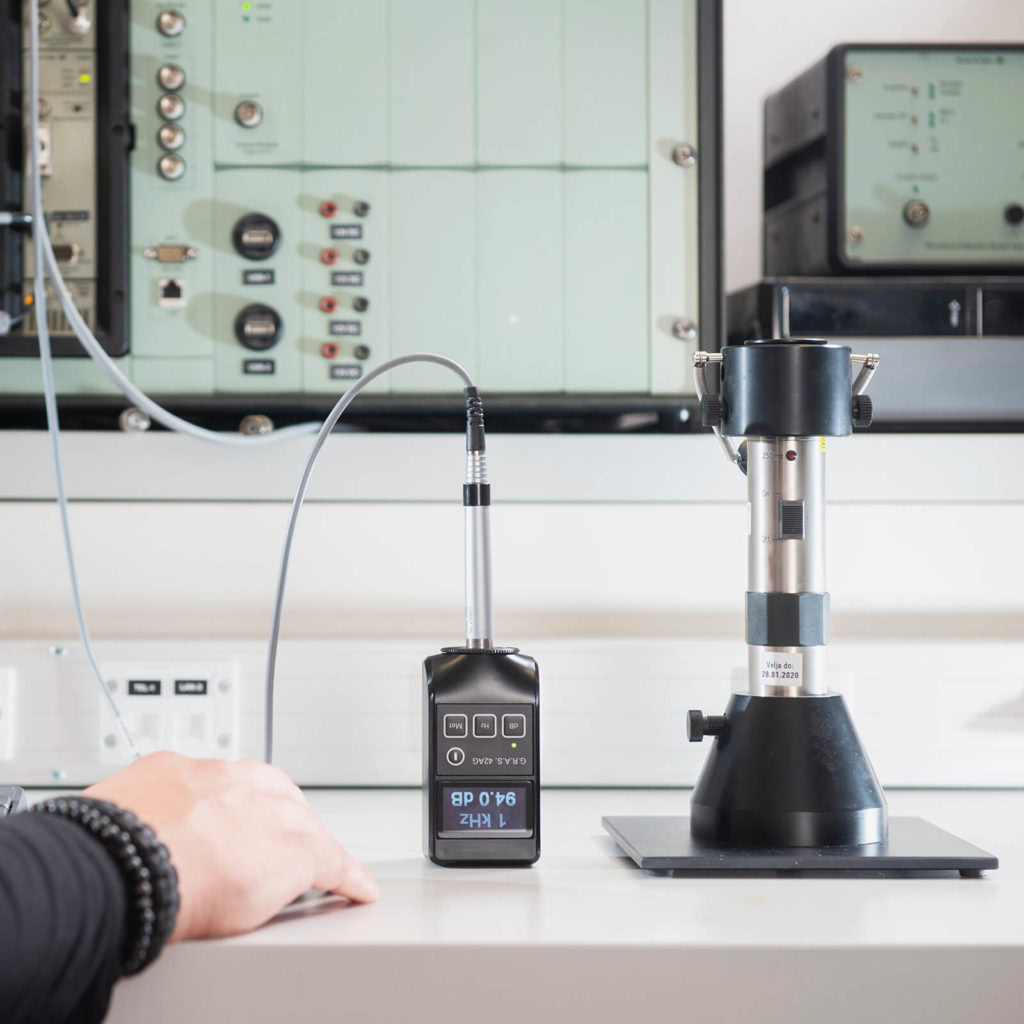
Acoustic calibrator calibration complies with IEC 60942. The standard defines three classes of accuracy, LS, 1 and 2. Class LS is intended for laboratory use only while class 1 and 2 are intended for field use. Calibrations are performed at a single frequency – 250 or 1000 Hz – and at supported acoustic pressure levels (usually 94, 104 or 114 dB).
Calibration is performed by the comparison method using the Brüel & Kjær Pistonphone 4228 as the standard comparative sound pressure level. Calibration report includes measurements of Sound pressure level, Frequency, and Total Distortion. If the instrument is equipped with an accessory barometer, this is checked at the current air pressure.
Measurement Microphones
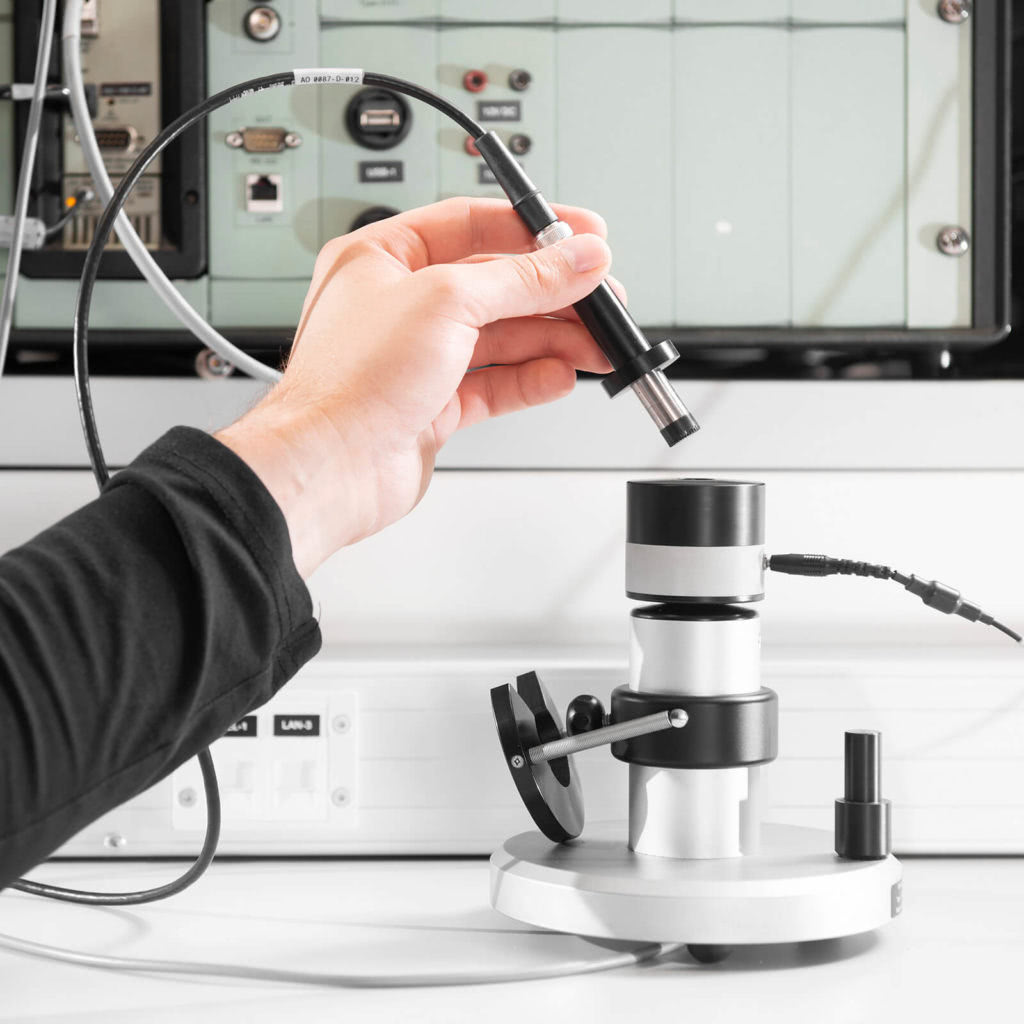
Calibration of all types of microphones according to IEC 61094-4 – 1” and other standard 1/2″, 1/4″, and 1/8″ measurement microphones with or without preamplifiers.
The sensitivity of the microphone being calibrated is measured by comparison with a reference microphone. The two microphones are exposed to the same sound pressure in an active comparison coupler. This contains a built-in sound source. The measurement frequency can be set to either 250 Hz (252.2 Hz) or 1000 Hz.
The measured sensitivity is valid at the measured conditions. Correction is made for the influence of environmental pressure, temperature and humidity on the reference microphone.
The frequency response is determined using an electrostatic actuator (IEC 61094-6). This is a widely used tool that can simulate a constant sound pressure on the diaphragm of the microphone over a wide frequency range. The actuator measurement is a relative measurement. The results are normalised at the sensitivity measurement frequency (reference frequency), 250 Hz (251.2 Hz) or 1000 Hz. Depending on the type and application of the microphone, free-field or diffuse-field corrections may be added to achieve the required type of frequency response.
For more information on the Sound Calibration Services available from Dewesoft, please contact us.
