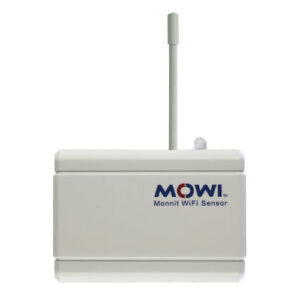
The MoWi Wi-Fi Sensors are versatile and easy to use. Firstly, the models available allow the monitoring of standard, high or low temperatures in a range of environments. For example, from ovens, to freezers, to walk-in in coolers and more. Get alerts on water leaks and flooding equipment use, after hours access, service requests and more.
This product highlights the Wi-Fi Product range available. As well as frequently asked questions and installation steps on getting started. Wi-Fi sensors are available for Australian Customers to purchase directly on-line at our secure store https://metromaticsstore.squarespace.com/ with free delivery in 2-4 weeks. Contact us directly, should you require a quotation for larger quantities.
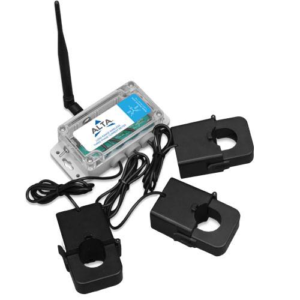
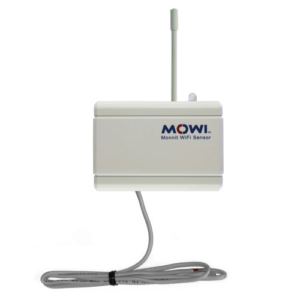
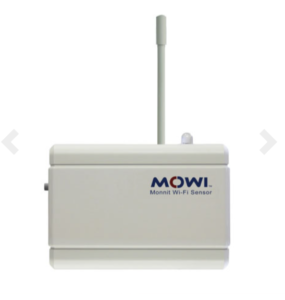
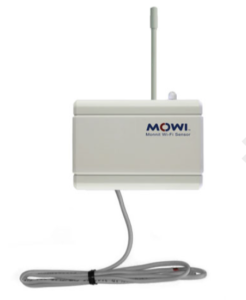
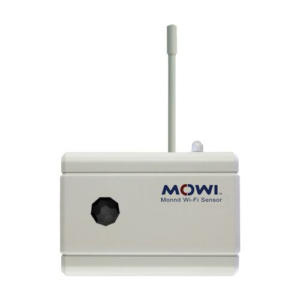
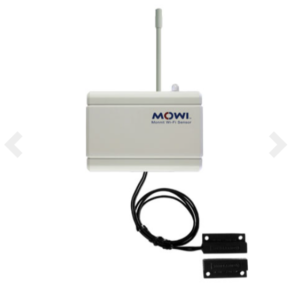
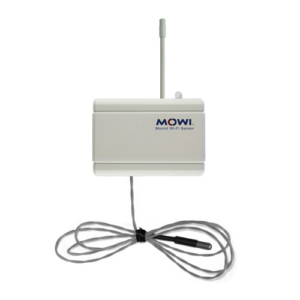
MoWi Wi-Fi Sensors available:
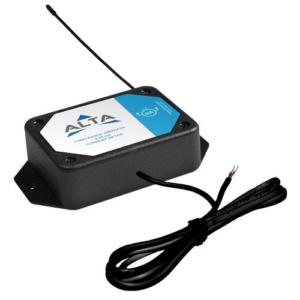
Wi-Fi Dry Contact Sensors
Wi-Fi Button Press Sensors
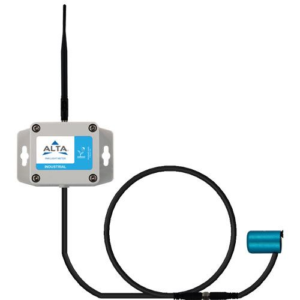
Wi-Fi Water Detection Sensors
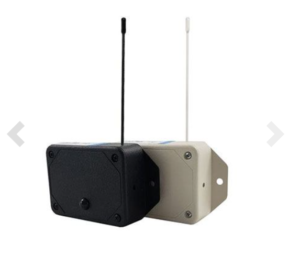
Wi-Fi Motion and Occupancy Sensors
Wi Fi Open and Close Sensors
Wi-Fi Humidity Sensors
Wi-Fi Low Temperature Sensors
Wi-Fi High Temperature Sensors

Wi-Fi Standard Temperature Sensor
Wi-Fi Activity Detection Sensors
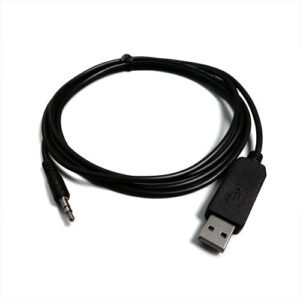
You will also need a
Wi-Fi Sensor Programming Cable
Software iMonnit Cloud Sensor Management Software

About the Software
iMonnit is a cloud based mobile platform for managing the Monnit Sensor products including MoWi Wi-Fi Sensors. All data is secured on servers using Microsoft SQL Server. The online user interface can be accessed by typing www.imonnit.com into the internet browser address bar. This is where all devices can be set up, accessed and reviewed. In addition, download the iMonnit app to your smartphone tablet for mobile access.
iMonnit Basic is free software. However, access is for one network and one user and functionality is limited. We recommend iMonnit PREMIERE version of the software. It is a yearly fee, allows numerous networks and users and enhanced features for the Wi-Fi Sensors.
Configure the MoWi Setup Utility by following the instructions below.
- Download the MoWi Setup Utility from: https://monnit.azureedge.net/content/downloads/MoWi_Utility_Installer.msi
Frequently Asked Questions about the Wi-Fi Sensors
Q: What Wi-Fi bands do MoWi sensors support?
A: MoWi Wi-Fi sensor networks operate on IEEE 802.11 b/g.
Q: What types of security protocols do Monnit Wi-Fi sensors support?
A: MoWi Wi-Fi sensors currently support Open networks, WEP, WPA and WPA2 security protocols. Some Wi-Fi routers allow for faster connections and further range which can increase battery life.
Q: What is the average life span of the batteries in a Wi-Fi sensor?
A: MoWi Wi-Fi sensors are optimised for best power use. However, it is estimated that a typical MoWi sensor should last up to 5 years. (During battery tests, all Monnit’s MoWi sensors surpassed 90,000 sensor readings before the batteries were depleted. This testing was done using the highest level of Wi-Fi security in average Wi-Fi conditions.)
The life span of the batteries can be affected by several factors:
- How frequently the sensors are taking readings
• What type of sensor you are using
• What type of security your Wi-Fi network is using (Open/WEP/WPA/WPA2)
• Power output of the Wi-Fi router
• Distance from sensor to the wi-fi router
• Quality of the batteries being used
Q: My WiFi sensor was set up, checked in, but now flashes red/green and no data or heartbeats. Why is this happening?
A: This happens when the MoWi sensor cannot connect to the WiFi network.
Possible reasons include:
- Sensor is out of range from WiFi network
• WiFi network is down/off or internet connection is down
• The sensor’s WiFi credentials were changed in iMonnit, saved, and no longer work for the previous WiFi network
• Sensor was moved to a different location with a different WiFi router which has different credentials
To resolve this, take out the sensor’s batteries. Open the MoWi setup application on your PC (this cannot be done in iMonnit). If you no longer have the application, it can be downloaded at www.mowisensors.com. Insert the batteries back into the sensor and connect the sensor to your computer with the MoWi programming USB cable. Use the MoWi programming application to enter the correct WIFI credentials.
Q: What should I do with my wireless sensor when the batteries die?
A: When the batteries in your MoWi sensor eventually die, simply slide the battery compartment door open to access and change the batteries. All configuration information will remain in the sensors memory, so nothing else needs to be done. We encourage you to recycle all old batteries.
Q: How do I set static IP and DNS configurations on my Wi-Fi Sensors?
A: By default, DHCP is enabled on your Wi-Fi sensors. If you need to use a static IP or custom DNS settings, uncheck the box next to “Use DHCP” when configuring your sensors through the MoWi Setup Utility and enter the appropriate information. If you already have sensors on your Wi-Fi network and want to set up static IP and DNS settings remotely, log into your account at imonnit.com and click the edit icon next to the sensor you want to change. From the Wi-Fi configuration area, slide the selector to “Static” and enter the appropriate information, then click “Save” at the bottom of the page. This information will be sent to the sensor the next time it checks in. From that point forward, the sensor will communicate with the new IP and DNS settings.
Q: What do I need to have in my possession to run a MoWi Wi-Fi sensor network?
A: To deploy a MoWi Wi-Fi sensor network, you will need a Wi-Fi enabled internet router with an active internet connection.
Q: What happens to my wireless sensor data if there is an Internet outage?
A: If you experience an Internet outage, your MoWi Wi-Fi sensors will log the data in their internal memory and pass all the data to the online system, when the Internet connection is restored.
Q: How many readings can be logged in a MoWi sensor’s memory if there is an internet outage?
A: If you are using iMonnit basic (free) online monitoring your MoWi sensor will store the first 50 sensor reading and transmit them when internet connectivity is restored.
If you are using iMonnit Premiere your MoWi sensor can record up to 50,000 readings in local memory and transmit them when internet connectivity is restored.
Q: Is my wireless sensor data secure when it is sent to iMonnit online software?
A: MoWi sensor data is secured via AES 128-bit encryption when being transferred to the iMonnit™ online monitoring software.
Q: Does Monnit offer any other types of wireless products besides Wi-Fi sensors?
A: Monnit currently offers a wide variety of wireless sensors in 433 MHz frequencies that communicate wirelessly with Monnit USB, Ethernet and Cellular Gateways. To view the full offering of Monnit wireless sensing products visit this area of our website.
Q: Will a MoWi sensor notify me when I need to change the battery?
A: Each time a MoWi sensor transmits data to the iMonnit™ online monitoring software, the sensor reports the batteries life as a percentage of the life left. It is not an exact reading but will provide you with enough information to know when the battery is about to expire. You can also setup notifications via SMS text or email to alert you when any sensor’s battery reaches a set percentage.
Monnit MoWi™ Sensors connect to a standard Wireless 802.11 A, B, or G network and transmit data to iMonnit. You can connect MoWi Sensors to a local Wi-Fi network when a gateway isn’t preferred. This article will guide you through setting up your Monnit MoWi Sensor with your Wi-Fi network.
If you do not see “Sensor Connected” displayed in the MoWi Setup Utility, view this article.
For information about the LED display, view this article.
Summary of Steps
- Add the sensor to your iMonnit account.
- Download the MoWi Setup Utility from: https://monnit.azureedge.net/content/downloads/MoWi_Utility_Installer.msi
- Install the MoWi Setup Utility.
- Launch the MoWi Setup Utility.
- Install the driver for the MoWi Programming Cable.
- Physically connect the MoWi Programming Cable to your sensor, then to your computer.
- Insert the batteries into your sensor.
- Program the sensor.
- Review the sensor communication in iMonnit.
Download, Install, and Launch the MoWi Setup Utility
https://monnit.azureedge.net/content/downloads/MoWi_Utility_Installer.msi
Download the MoWi Setup Utility installer at the link above. After the download is complete, right-click the file, and select Run as Administrator. If you have adequate permission to perform the installation, the application will be installed at C:Program Files (x86)Wi-Fi Setup WizardWi-Fi-Setup-utility.exe. You will also see an icon next to the Windows Menu called “Monnit Wi-Fi Sensor Utility.” Select this item to launch the utility.
Download and Install the MoWi Programming Cable Driver
https://www.silabs.com/documents/public/software/CP210x_Windows_Drivers.zip
Note: The driver at the above link installs driver version 6.7.6. This driver is confirmed to be working on Windows 8 and 10 with the MoWi Programming Cable. There is a newer driver, version 10, which isn’t consistently supported. We recommend that driver version 6.7.6 be installed and used.
If you have already installed version 10 of the driver, and the utility doesn’t detect the sensor, you can follow the steps at the following link to completely delete the driver: https://docs.microsoft.com/en-us/windows-hardware/drivers/install/using-device-manager-to-uninstall-devices-and-driver-packages).
Unzip the Driver
To successfully install the driver, you must unzip the .zip file downloaded in the previous step and install the driver from the unzipped folder. Most Windows installations allow you to right-click the .zip file and select Extract all.
After unzipping the .zip file, locate the correct version of the installer for your PC. Right-click the .exe file and select Run as Administrator.
For a 32 bit computer, use the CP210xVCPInstaller_x86.exe.
For a 64 bit computer, use the CP210xVCPInstaller_x64.exe.
Launch the MoWi Setup Utility
Find the Monnit Wi-Fi Sensor Utility in your Windows Menu, and open it.
Connect the Sensor to the PC
(Before inserting batteries) Connect the MoWi Programming Cable to the computer’s USB port. Windows should recognize the cable is connected. Then connect the cable to the MoWi Sensor in the port covered with the sticker. The port resembles a 1/8″ audio port. Be sure to insert the cable completely.
Insert Batteries into the Sensor
Note: Your sensor will power on and be recognized by the computer even with low batteries. But if the batteries do not have enough voltage to power the radio, the sensor will not connect to the network. It can seem misleading if the sensor LED is active. It is still possible that your batteries are low, even if the LED is illuminated. Therefore testing with new batteries is imperative.
Insert good batteries into the sensor. You should see the LEDs on the sensor alternating green/red flashing indefinitely. If the sensor is physically connected, powered with good batteries, and has the correct driver and utility installed, you should see the image on the Setup Utility display “Wi-Fi Sensor Connected” for step 3.
Configure the Sensor
If you are using a network that broadcasts the Network SSID, click the drop-down menu for the Wireless Network SSID field, and select {Search for Networks}.
After the spinning cog stops, click the drop-down menu and select your network. The sensor will detect any networks broadcasting a 2.4 GHz 802.11 A, B, or G signal. Wireless N and AC networks are not supported.
If you are using a network that does not broadcast the SSID, type in the SSID manually. Be sure to enter the name with the correct syntax.
- Select the Security Typein the drop-down menu, and enter the Key or Passphrase. Only standard WEP/WPA/WPA2 security is supported.
- If a static IP configuration is required, click the Advanced Settings Uncheck Use DHCP, and enter the static IP address. All four components are required, including a valid DNS server. Google’s DNS server, 8.8.8.8, can be used if you do not have local DNS resolution.
- Click the Configure Sensor Your sensor will be configured with the settings you entered. You may see the message indicating communication interrupted, acknowledge the notification and continue. This can generally be disregarded.
- The sensor will attempt to connect to your local network. If this succeeds, the sensor will communicate with iMonnit through the Internet over outbound UDP port 3000. If this is successful, you will see a message indicating the test succeeded. If it does not succeed, you should examine the network configuration and ensure it can resolve sensorsgateway.comand send data to the Internet over port 3000.
If the Test to the Monnit Server is Unsuccessful
If you see a message that the sensor connected to your router but did not connect to the Monnit server, a network configuration likely prevents the sensor from reporting data to the iMonnit server. It’s often an issue with the Internet, or the network blocks port 3000. There is a tool to test the connection over your network. You can test this connection by following the steps below.
Using the Test Server Feature
- Launch the MoWi Setup Utility.
- Connect the sensor to the PC’s USB port.
- Power the sensor on by inserting batteries if not already inserted.
- Confirm the sensor is detected in step 3.
- Click the Advanced Settings button.
- Leave the default settings for Server Address and Server Port.
- Enter the ID of the sensor in the SensorID field.
- Click Test Server.
When the test is executed, you will see the following messages:
- Attempting u1.sensorsgateway.com:3000 (indicating the test has started)
- DNS Resolve: x.x.x.x (indicating the DNS resolution was tested)
- TCP Connect Success/Fail (indicating connection over TCP was tested)
- Message v1 Sent (indicating a test message using TCP was tested)
- Timeout/Message Received (indicating the result of the previous test, Timeout = failed – Message Received = succeeded)
- UDP v2 Message Sent (indicating connection over UDP was tested)
- Timeout/Message Received (indicating the result of the previous test, , Timeout = failed – Message Received = succeeded)
It is worth noting that this test runs from the network connection of the host PC. If the PC connects to the same Wi-Fi network to which you are attempting to connect the sensor, be confident that the network is not blocking the required traffic. Although, this does not definitively confirm the issue is not network-related.
Conclusion
Finally, after following the steps above, you should resolve any configuration issues with your MoWi sensor. If you need additional guidance, please contact Metromatics.