Huntron have put together a Printed Circuit Board Checklist of items as a first step to trouble shooting a board. This checklist can assist a technician. It can save time, money and headaches. Do this inspection procedure at the beginning of every trouble shooting session. It will become second nature.
CIRCUIT BOARD INSPECTION CHECKLIST
Collect and analyse any available data about the suspect board.
- Always consider the skill of the person reporting a defective circuit card. Is the problem stated factual or assumption?
- Carefully review and consider any available repair history. Could the fault be a repetition of a previous problem or incorrect repair?
- Consider any special circumstances associated with the failure; lightning, power failure, maintenance activity, fire, water damage, rough handling, etc.
- Is the problem subtle or a catastrophic failure? If it is a subtle failure, look for a subtle fault and if it is catastrophic failure, look for a catastrophic fault.
- Is this an intermittent or solid failure? If it is intermittent, look for an intermittent fault. Determine the catalyst- heat, humidity, vibration, etc. Always physically inspect the circuit card. Note the revision level, switch settings, and anything out of the ordinary that could be a clue to the problem.
The following is a checklist of items a technician should look for:
- Take note of the board ID and revision level. This is of particular importance when comparing two boards. Be sure you are not hunting revision changes instead of faults.
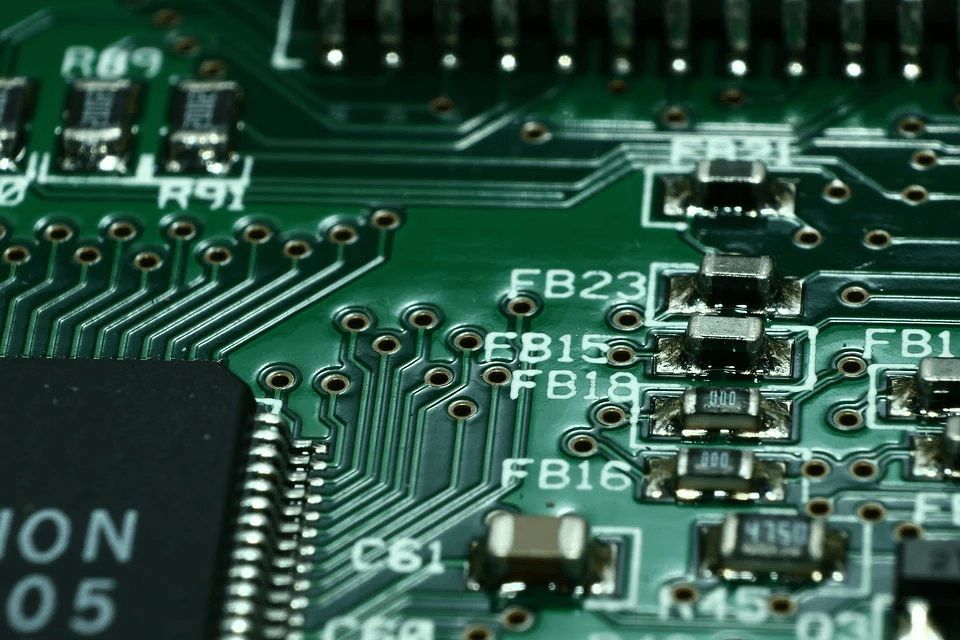
- Visually check for indications of rough handling; scratches, buckling, cracks, etc. When a scratch is found across a trace, always check for continuity with your Tracker in LOW range even if it looks okay.
- Intermittent faults can be caused by fractures. Hold the board up to a bright light and look for cracks. Check for trace continuity while gently flexing the board if cracks are found anywhere on the card.
- Take note if the board is multi-layered. The more layers a board has the more difficult it will be to trace foils and component interconnections.
- Inspect the soldering on the board. Look for poor quality, shorts, opens, cold solder joints, and fractures around hot components.
- Closely inspect previous repairs. Check for continuity from traces to pads with your tracker in LOW range. Look for tiny cracks in pads and traces, they can be intermittent. Verify continuity through eyelets.
- Inspect the board. Look for damaged foil runs. Pulled up, burnt or discoloured.
- Inspect mod wiring, the leads can break loose at the solder points.
- Be aware that unclipped component leads may bend over and cause short circuits.
- Visually inspect the component side of the board for broken or missing components.
- Check all plug-in components for legs that may be bent or folded under.
- Check for blown fuses and heat stressed components. Don’t forget your nose- some components may appear in good condition while internally heat damaged. Sniff for the tell-tale “burnt electronics” odour.
- Look for swollen or leaky electrolytic capacitors.
- Take note of switch settings, option blocks, e prom revision levels, and strapping. This is very important when doing good/bad board comparisons with a Tracker.
- Inspect any previously cut component legs or traces for proper re connection.
- Resistors can be fractured by mechanical shock. Gently push suspected resistors to verify their condition.
Final Tips
Firstly, it is important to verify the fault, if possible. No one wants to waste time looking for non-existent or incorrectly diagnosed problems. Secondly, operate the board in the same environmental conditions, if possible. Think before you leap. If a stereo has a noisy left channel, you shouldn’t start by troubleshooting the right channel or the power supply. You would look in the left channel circuitry for a possible intermittent.
Finally, test and verify after each repair procedure. After the inspection, there may be some repair required. Retest the board. When tested, if the symptoms change for the worse, go back and check the work you have done before going on to look for the original problem.
Huntron is able to put together this Printed Circuit Board Checklist. Because Huntron supplies tools for engineers and electronic technicians who test, diagnose and trouble shoot printed circuit board assemblies. They manufacture the popular Tracker®. This is industry standard for power off troubleshooting tools to help identify component failures on printed circuit boards. They also manufacture the Access Robotic Probers and Huntron Work station software which enables full automation of power off testing or power on test processes.
Metromatics provides local sales, service and support of the Huntron products in Australia and New Zealand. For more information, contact us.